Gather your materials:

- Pattern (click to download on scibd)
- 1 fat quarter for the front of the bib
- 1 fat quarter for the back of the bib
- batting, flannel, fleece, or old towel for the middle layer (use whatever you've got)
- 1 pkg. (3 yds) of extra wide double fold bias binding, or make your own.
- thread
- any embellishment you want (appliques, embroidery, ric rac, the sky's the limit☺), optional

Take your backing fabric and place it on top of the middle layer. (I am using an old towel that we got for our wedding 12 years ago!!! It needed a new use☺) Smooth it out. You could pin the layers together with safety pins, but I didn't. Next comes my favorite part.

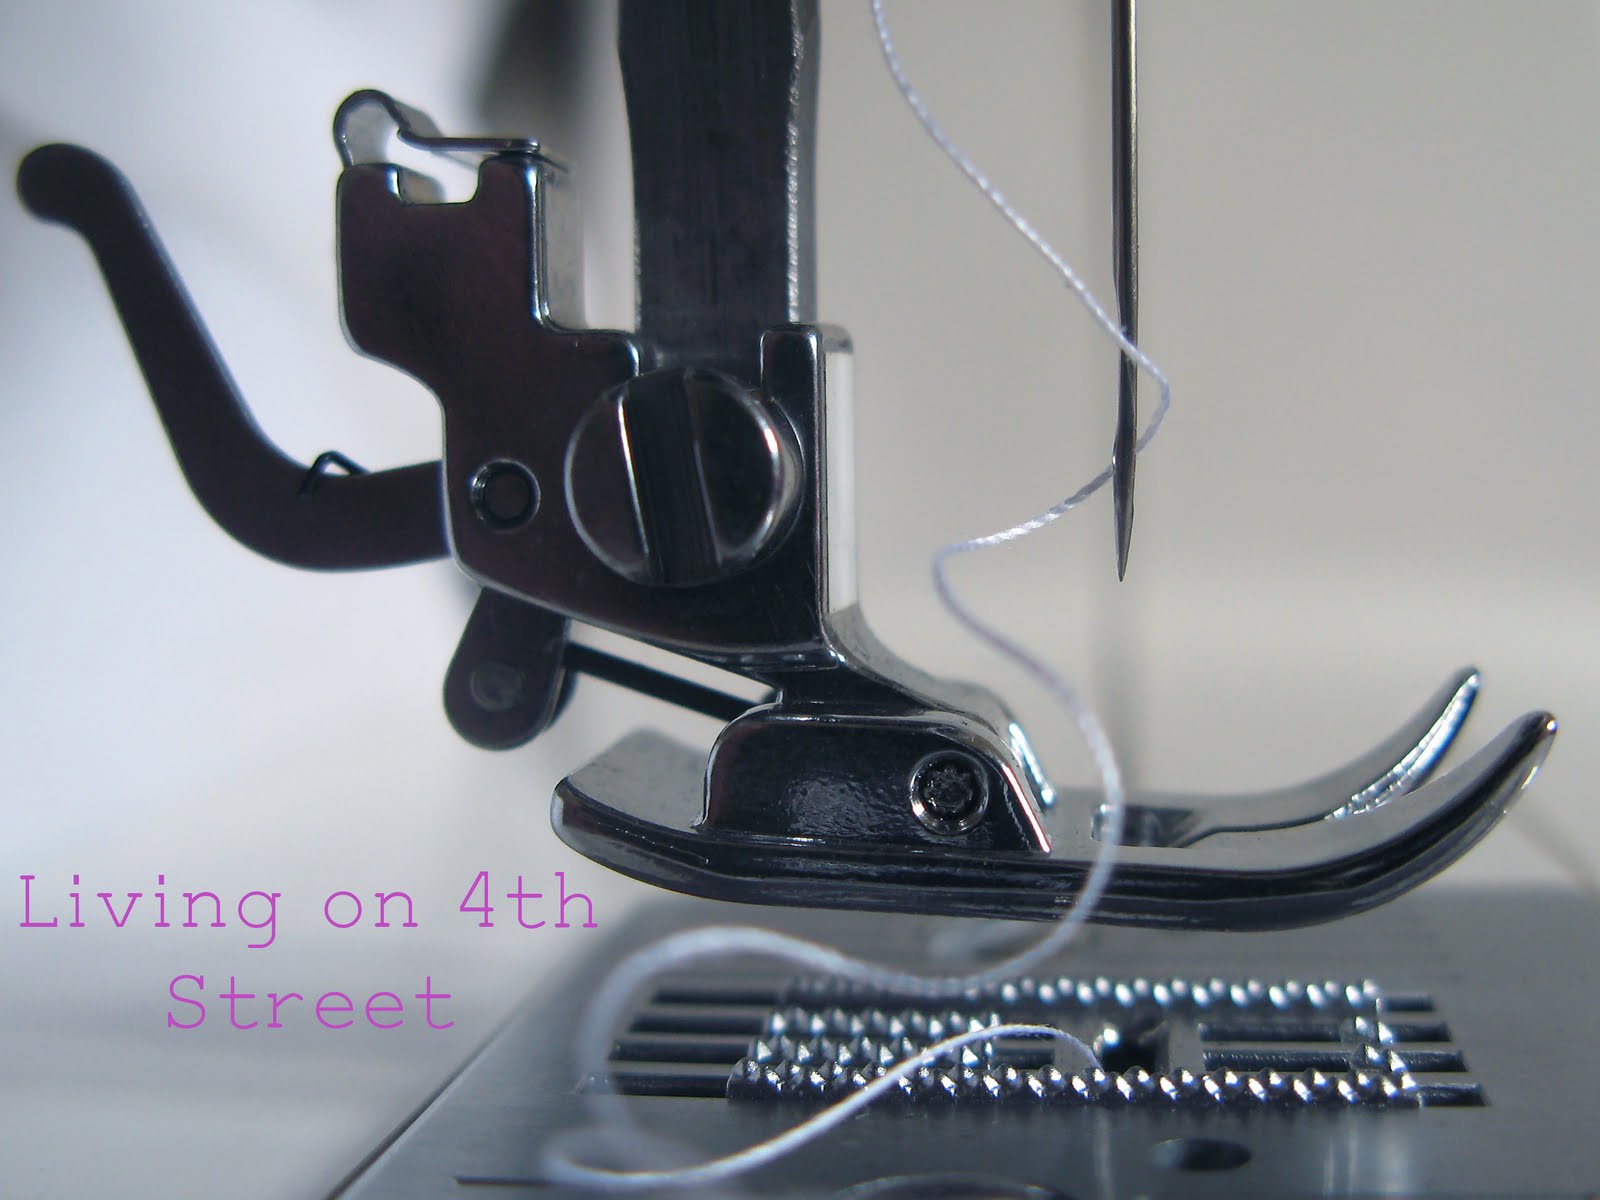
You could skip this next step and buy pre-quilted fabric, but I'm telling you this is insanely fun. This is what I did: I set up my treadle sewing machine with my brand new walking foot (how have I lived without a walking foot this long????) and doodled (I know its really called stippling, but its less intimidating to call it doodling) all over the backing of the bib quilting the old, disgusting towel to the backing. Start on one side of the fabric and go down in a random pattern and then turn around randomly and go back up. Meander around until you get to the other side of your fabric/batting sandwich. I tried not to sew over any of my stitches that I had already made. That's the only rule. Too much fun, I'm telling you.
You could accomplish this step in a variety of ways. A darning foot and lowering the feed dogs would be really fun and probably easier (my treadle doesn't allow me to lower the feed dogs so that's why I didn't try this method) way to doodle. If you only have a regular straight stitch sewing foot, you could sew wonky lines down your fabric. I think it would be really cute and creative that way. Use the attachments you have.
You could accomplish this step in a variety of ways. A darning foot and lowering the feed dogs would be really fun and probably easier (my treadle doesn't allow me to lower the feed dogs so that's why I didn't try this method) way to doodle. If you only have a regular straight stitch sewing foot, you could sew wonky lines down your fabric. I think it would be really cute and creative that way. Use the attachments you have.

Here is the backing all quilted. If you want to embellish the front at all, now is the time to do that. I didn't because frankly I want to be able to use the bib and not worry about the glob of spaghetti sauce that got on my beautiful applique. If I was making a shower gift, I probably would have made it a little fancier.

Using the downloaded pattern, cut out the front of the bib then lay it on top of the batting/towel with the back of the bib facing down. Pin around the bib making it nice and smooth.

Stitch around the bib very close to the edge (1/8"). This will make all three layers act as one layer and it will secure all of your quilting stitches before you cut it out.

Your bib should look something like the picture above.

Cut out the backing of the bib using the front as a guideline.

This is how I did it: If you look at the bias tape, you will notice that one side is folded over shorter than the other. Unfold the short side and with right sides together match your raw edges and then sew along the fold line. Next, fold the wider side over to the back and top stitch close to the sewn edge. (next to the ditch) You could also zig zag to catch the bottom side of the bias tape if you like that look. It would definitely be the easiest way to do it.

Next, sew the bias tape around the whole bib except for the neckline. Start on one shoulder next to the neckline and sew the bias tape to the shoulder just like we did with the armholes. ( Again, use your favorite method, but this is what I did.) The short side of the bias tape should be on top unfolded with raw edges together and stitch right sides together on the fold. When you come to the other side of the shoulder measure approx 5 " of the bias tape to complete the armhole. Continue around the bib and leave 5 more inches for the other armhole. Then fold over the wider side to the back and top stitch, starting at the shoulder, close to the already stitched edge catching the back of the bias tape and sewing it down. The 5 " of bias tape that make up the armholes are top stitched together so that it does not come unfolded. Now your bib should look like this:

The rest of the bias tape will be used to finish the neckline and make the ties of the bib. Find the middle of the remaining bias tape and pin it to the middle of the bib neckline. Pin bias tape to the neckline. Stitch down the short side of the bias tape to the neckline right sides together using the fold as your stitching line just as we did before or use your favorite method of attaching bias tape.

Open up the ends of the bias tape and fold over approx 1/2 " and then refold so that you don't have any raw edges exposed that could fray on your tie.
Begin top stitching the bias tape starting at one end of the tie going across the neckline to catch the wider side of the bias tape to the back of the bib and then on down the other tie.

So there ya go! Your snazzy bib is all done!
Feel free to use this tutorial for personal or commercial use, but please mention my blog as the source for the pattern. Thanks.☺
This is great! Thank you!
ReplyDeleteI'm getting ready to sew some bibs for Bubba! I will probably use the big I currently have as a pattern, but I love your idea for "doodling" the stuffing to the back fabric :) I picked up a fleece blanket for $1 today at a thrift store, so I'm almost ready to go!
ReplyDelete